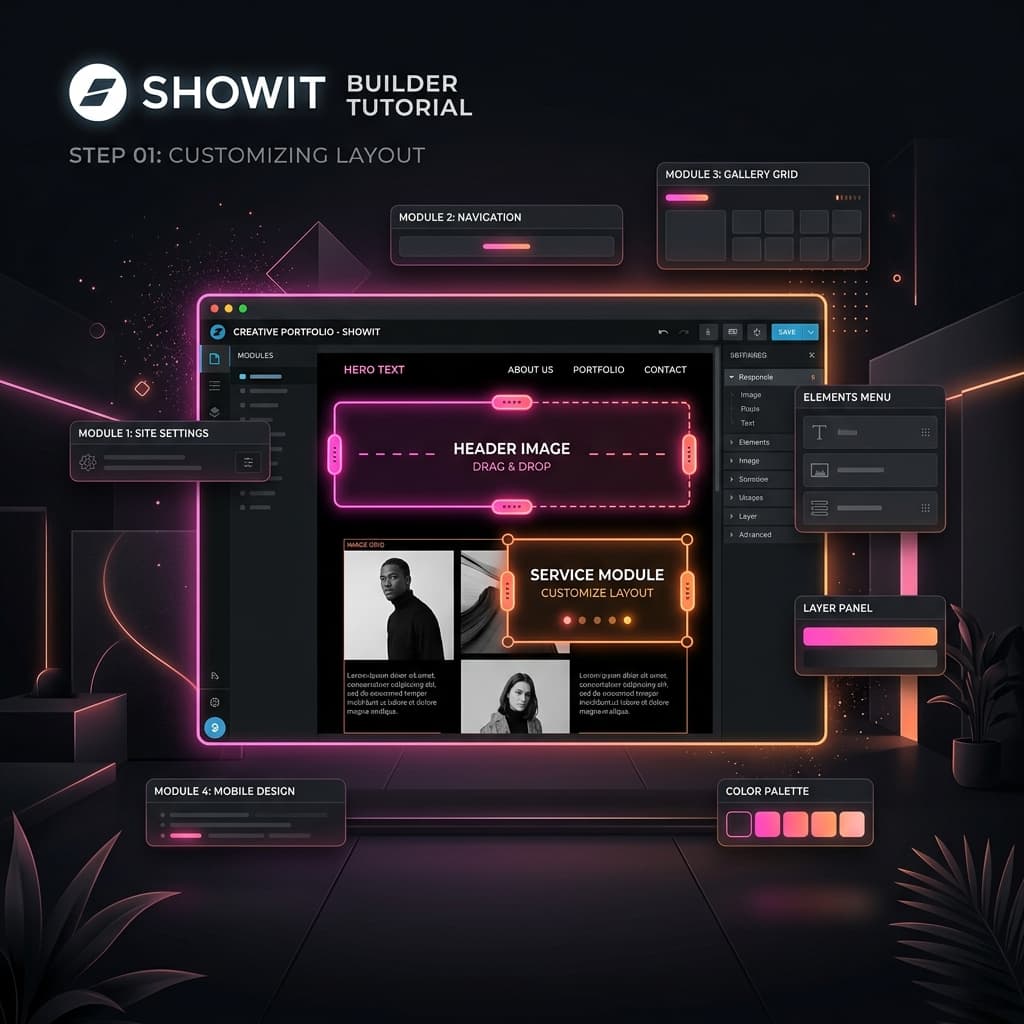
Table of Contents
Introduction to Showit Template Customization
Showit is a powerful website design platform that allows users to create stunning, customizable websites without needing to write code. One of its standout features is the ability to work with templates, which serve as a starting point for your design. However, to truly make your website your own, it's essential to customize these templates to align with your brand identity.
Getting Started with Your Showit Template
To begin customizing your Showit template, you'll first need to select a premium template that resonates with your vision. After purchasing and importing the template into your Showit account, follow these initial steps:
- Log in to your Showit account.
- Navigate to the 'Templates' section.
- Select 'Import Template' and choose your downloaded template file.
- Once imported, click on 'Edit Site' to access the Showit Designer.
Customizing Fonts and Typography
Fonts play a crucial role in your website's aesthetic and readability. To customize the fonts in your Showit template, follow these steps:
- Select the text element you wish to customize.
- In the right sidebar, find the 'Text' tab.
- Choose your font from the 'Font Family' dropdown. Showit integrates with Google Fonts, so you have a wide range to select from.
- Adjust the 'Font Size', 'Line Height', and 'Letter Spacing' as needed.
- Set 'Font Weight' to bold, regular, or custom as per your design requirements.
Establishing Your Color Palette
A consistent color palette enhances brand recognition and user experience. Here’s how to customize your color scheme in Showit:
- Go to the 'Canvas' settings in the right sidebar.
- Find the 'Background Color' option to change the canvas background.
- To customize specific elements, select the element (e.g., buttons, text, etc.) and navigate to the 'Style' tab.
- Use the color picker or input your HEX/RGB values to set your desired colors.
- For brand consistency, consider creating a color palette in a design tool and referencing it while making adjustments.
Working with Interactive Canvases
Showit allows you to create interactive canvases that enhance user engagement. To customize these canvases, you can follow these steps:
- Select the 'Canvas' you want to customize from the left panel.
- In the right sidebar, you can adjust the 'Size', 'Position', and 'Background'.
- To add interactivity, like hover effects, select an element within the canvas.
- In the 'Animation' section, you can define how elements behave on hover or click. For example, you might want a button to change color when hovered over.
Adding and Customizing Images
Images can significantly impact the visual appeal of your site. Here’s how to add and customize images within your Showit template:
- Drag and drop an 'Image' element from the left panel onto your canvas.
- Click on the image to access its settings in the right sidebar.
- Upload your image or select one from the Showit library.
- Adjust the 'Size', 'Position', and 'Border Radius' to match your design.
- Utilize the 'Link' option to set up any desired interactions, like linking to a portfolio or external site.
Previewing and Publishing Your Changes
After making your customizations, it’s essential to preview your site to ensure everything looks as intended. You can do this by clicking the 'Preview' button in the top right corner of the Showit Designer. Once satisfied, follow these steps to publish:
- Click on 'Settings' in the left panel.
- Select 'Site Settings' and configure your SEO settings, including meta descriptions and titles.
- When ready, click the 'Publish' button to make your site live.
Final Thoughts
Customizing a Showit template allows you to create a unique online presence that reflects your brand identity. By following these steps for styling fonts, color palettes, and interactive canvases, you can turn a standard template into a personalized masterpiece that resonates with your audience.
Related Articles
How to Convert Figma to Elementor WordPress — Complete Guide 2026
Learn the complete step-by-step process for converting Figma designs into pixel-perfect WordPress Elementor websites. Covers design audits, asset optimizations, containers, and QA.
ShowitFigma to Showit: Build Stunning Showit Websites From Your Designs
Discover how to transform your Figma mockups into beautiful, drag-and-drop Showit websites. Learn the custom canvas settings, mobile-first design, and WordPress blog styling.